Setup: integrated bracket for ldp
Starting with our Mk3 slalom design, we realized we had created something special for LDP as well as downhill. After thousands of miles and tons of R&D, we're stoked to offer the best integrated front bracket for LDP on the market.
-
You have a choice between using our standard urethane pivot tube and low-friction pivot tube in the lower position on the bracket. The low-friction pivot, designed for the upper arm primarily, will fit in the bracket as long as the included rubber spacer is used underneath. This is essential for making the low-friction pivot the same height in the bracket as the urethane pivot would be.
-
Both pivot designs have a chamfered lead-in on one end. Press this end into the bracket or arm first.
-
Install the hanger before the kingpin. The low-friction pivots are harder than the urethane ones, and do not compress. Installing the hanger straight into the pivot is necessary when using a low-friction pivot.
-
Install the upper pivot arm (pivot already installed in the photos below). Tighten the provided hardware (with lock washers!) to 90in-lb of torque
-
With the hanger in place, install the kingpin and wheelbite blocker. The kingpins are a new design with a tapered shank that provides a perfect, slop-free fit in the bracket.
-
Note that because of the tapered design, there will be a gap between the head of the kingpin and the bracket. This is normal and actually a good thing - it means there's full contact between the tapered surfaces
-
To remove the kingpin, tap the end straight-on with a hammer.
-
Tip: the kingpins are stainless steel (like our axles!). To reduce the likelihood of a nut seizing onto the kingpin, use a little anti-seize on the threads.

Lower pivot location can use either the original, urethane pivot from Riptide, or the low-friction pivot (with a rubber spacer underneath)
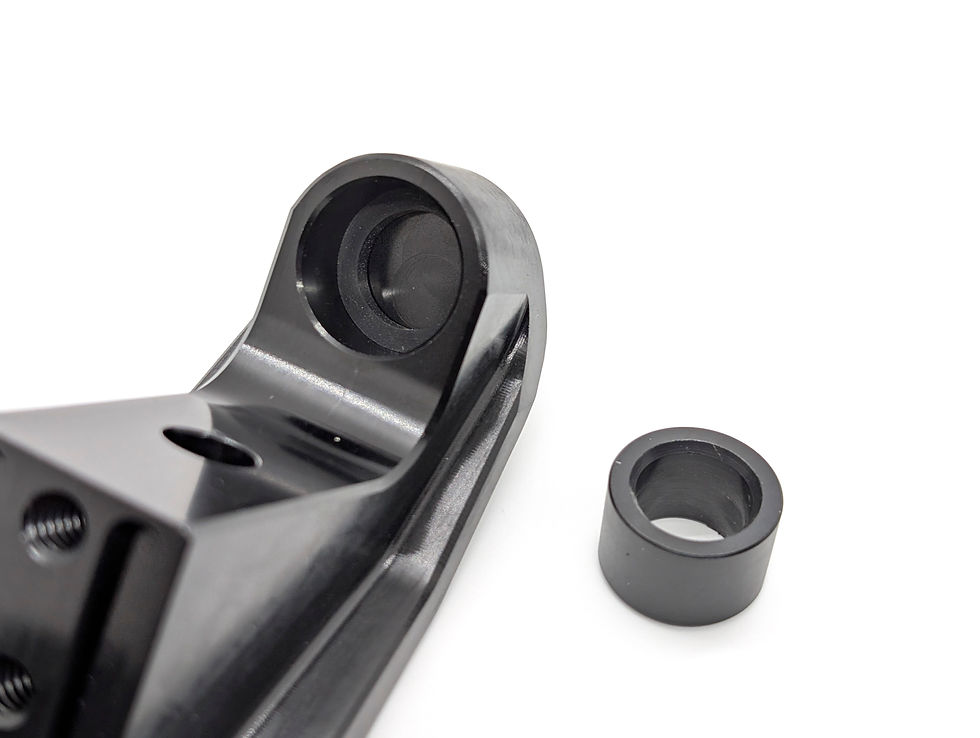
Use the rubber spacer under the low friction pivot.

Our new kingpins have a very slight taper on them to ensure a perfect fit in the base, while still being easily removable. Please note that because of this taper, there WILL be a gap between the head of the kingpin and base. This is normal and good!
Lower pivot location can use either the original, urethane pivot from Riptide, or the low-friction pivot (with a rubber spacer underneath)
Specs
-
20mm ride height
-
Angle: 55 degrees
-
New- and old-school mounting patterns
-
Bite-free on most brackets with up to 102mm wheels when using the wheelbite blocker